
Viewing Responses #
Once your respondents have completed your assessment, you can view and export their responses from your Agolix account.
Select the “Responses” link in the menu underneath your assessment. When you click on this link, it will take you to a list of all the people who have completed your assessment.

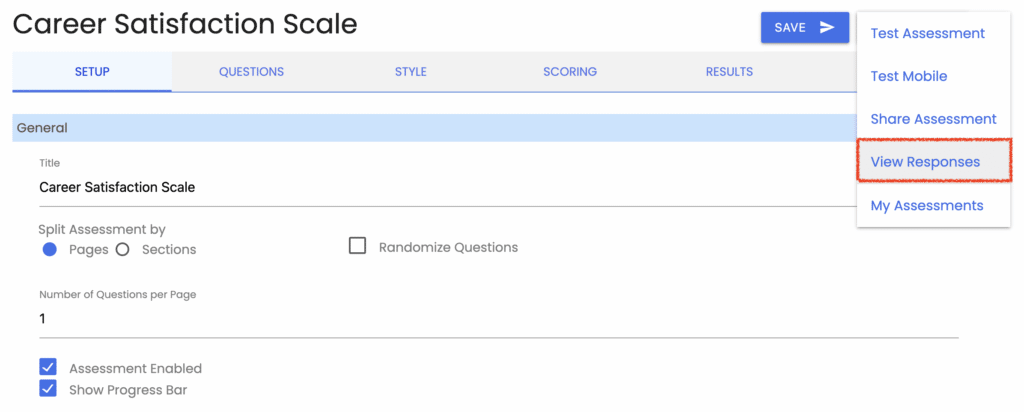
You can also select “View Responses” from the “Actions” menu in your assessment editor to see all the responses to your assessment.
Filtering Responses #
On this page, you’ll see the list of the people who have completed your assessment.
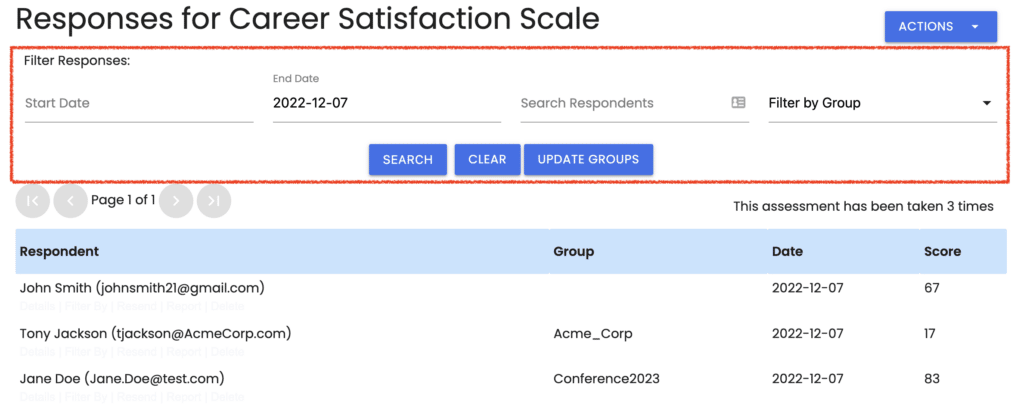
At the top of the page are some filter fields that you can use to narrow down the list of respondents as desired. This is especially valuable if you have many respondents and only want to see a subset of them simultaneously.
You can filter by start and end date, by a respondent’s name (or email address), and by group name (see Tagging Results by Respondent Groups for more details)
List of Respondents #
Below and to the right of the filter fields, you can see how many times your assessment has been taken.
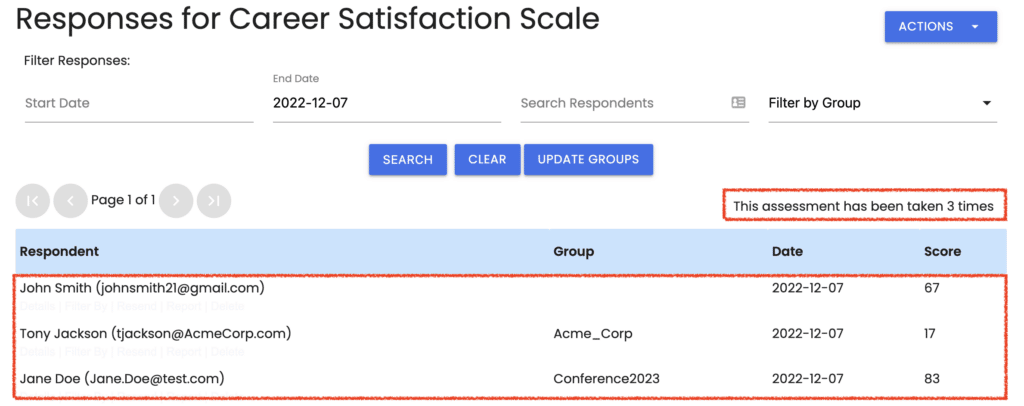
The list on this page shows your respondents’ names and email addresses, the date they took it, and the score they received. It also shows the group name (if one was specified when sharing your assessment URL from the “Share Assessment“ page).
Bulk-Updating Group Tags #
If you need to change the group tag assignment for many responses at once, you can click the “Update Groups” button to replace one group name with another.
If you haven’t filtered your responses by group, this will assign a group name to all responses that don’t currently have one.
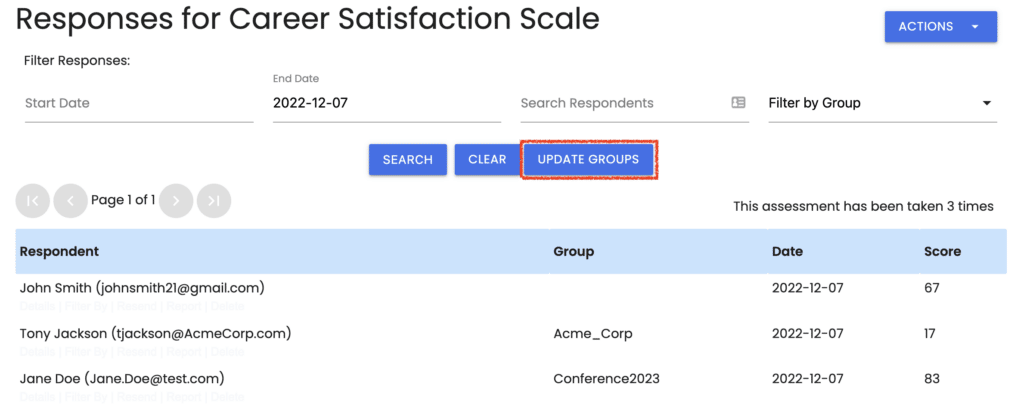
First, select the existing group in the “Filter by Group” drop-down to change an existing group. Then click “Update Groups,” and you’ll be able to update the group for all the filtered responses.
Respondent Menu Options #
When you mouse over each name in this list, you’ll see a menu of options appear.
Viewing and Editing Response Details #
The first option is “Details.”

When you click on the “Details” link, it will again show your respondent’s name (if you collected it on your respondent registration page) along with their email address.
You’ll also see the date and time when they took your assessment and how long they took to complete it in hours, minutes, and seconds.
Their score is also shown here, as their answers to each question. The specific point values that they scored on each question are also shown.
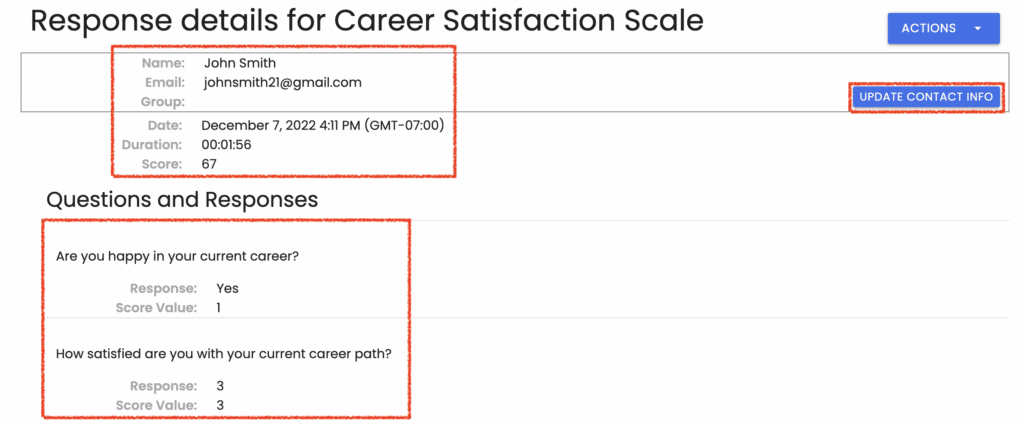
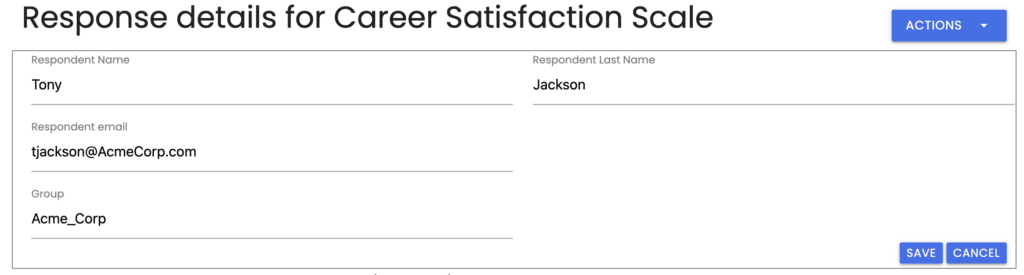
Update Respondent Contact Info #
By clicking “Update Contact Info,” you can edit the respondent’s contact details, including the respondent’s name, email address, and group tag. Click the “Save” button to save your changes.
Select “View Responses” in the “Actions” menu to return to the “Responses” page.
Filter by Respondent #
To the right of the “Details” link is the Filter by Respondent menu option.

Clicking this link will filter your list of respondents so that only the person matching that name and email address will be shown.
This is useful when a person has completed your assessment multiple times, and you want to see how their results have changed over time.
Resend Respondent’s Results #
Next in the responses menu is the option to resend a respondent’s results via email.

View Respondent’s PDF Report #
If a PDF report was generated for the respondent of this assessment, you could view their PDF report here by clicking on the “Report” link.

Delete a Respondent’s Results #
Finally, we also have the option to delete a respondent’s results.

To prevent the accidental deletion of results, you will need to click the “Delete” button twice to delete a respondent’s results.
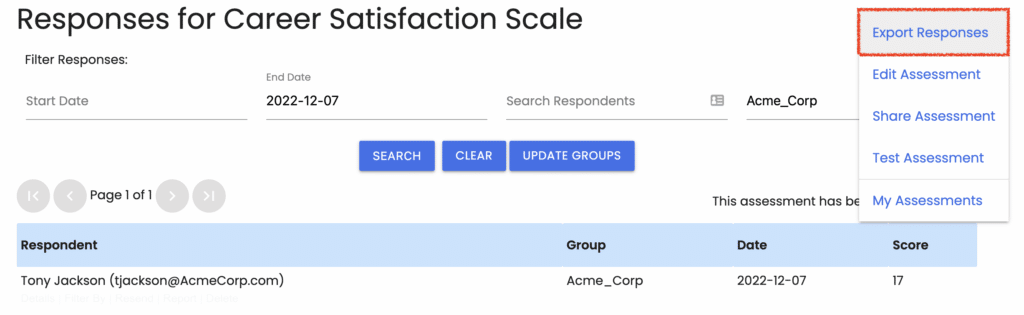
Exporting Responses #
You can export your responses in a CSV format from the top of the actions menu on this page.
NOTE: Only the responses that match your filters will be exported if any filters are set.
A popup window will appear on your screen when this option is selected.
As the message in this window explains, the responses matching the filters you set will be delivered by email to the account holder’s email address once you click the “Export” button.
Specify Email Address(es) for Export Delivery #
If you wish to also send these responses to other email addresses, you may enter those addresses on the line below.
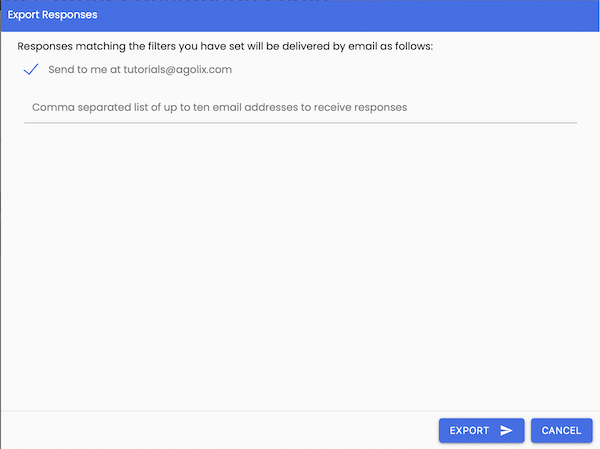
Note: Please keep in mind your privacy policies and ensure that the email addresses are entered correctly when using this feature.
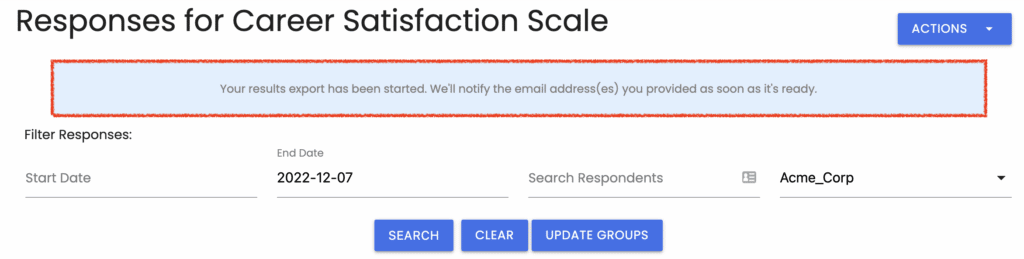
Export Notification Message #
After you click the “Export” button, a message will show at the top of your screen to inform you that your responses are on their way.
Download Exported Responses #
When your export is complete, you will email the account holder (and the other email recipients you specified). The message includes a button to download your results to your computer.
Open this file in your preferred spreadsheet program and analyze your respondents’ results as desired.
Please review the rest of the User Guide to learn more about our software.
Thank you for choosing Agolix by Assessment Generator!


