
- Navigate to the Setup Tab
- Add Your Assessment Title
- Assign to Assessment Category
- Organize Your Assessment by Pages or Sections
- Randomizing Questions
- Enabling / Disabling Your Assessment
- Add a Progress Bar
- Show a Landing Page
- Add Your Assessment Header
- Add Your Logo to Your Assessment Header
- Add Your Assessment Footer
- Save Your Assessment
- Preview Your Assessment
- Exit the Assessment Editor
Note: Please see Create Your First Assessment for guidance on creating an assessment.
Navigate to the Setup Tab #
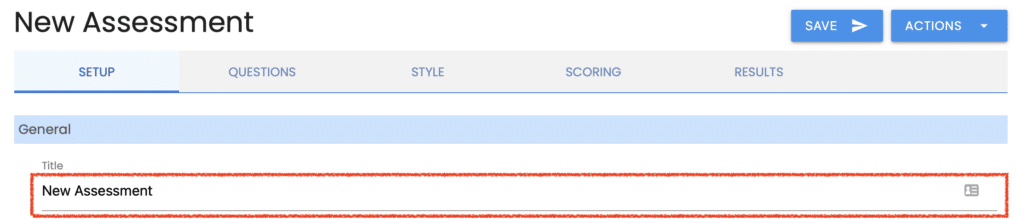
Set up the basic elements of your assessment, such as your title, header, and footer, by navigating to the “Setup” tab for your assessment.
Enter the Assessment Generator editor by selecting the “Edit” button in the menu underneath your assessment.

Add Your Assessment Title #
Let’s start by giving your assessment a title. Highlight the default title and enter your assessment title.
Assign to Assessment Category #
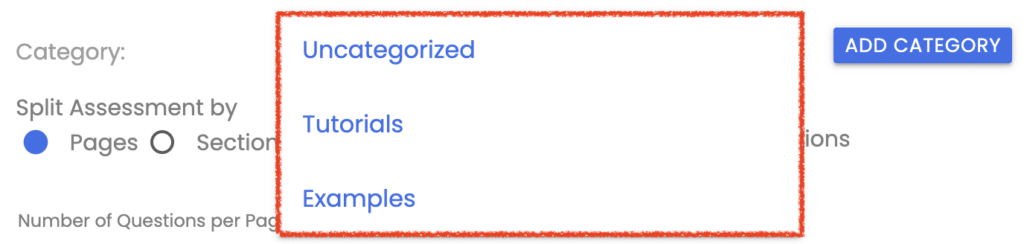
With all Enterprise plans, you’ll see an option to assign your assessment to a category:

This feature helps you help you organize your assessments by categories that make sense to you.
Select Category #
You can choose from the list of categories that you’ve already created. These are shown in the drop-down menu along with the default category of “Uncategorized”:
Create New Category #
Click the “Add Category” button to create a new category.

When you do so, a window on the screen will allow you to enter the details for your category.
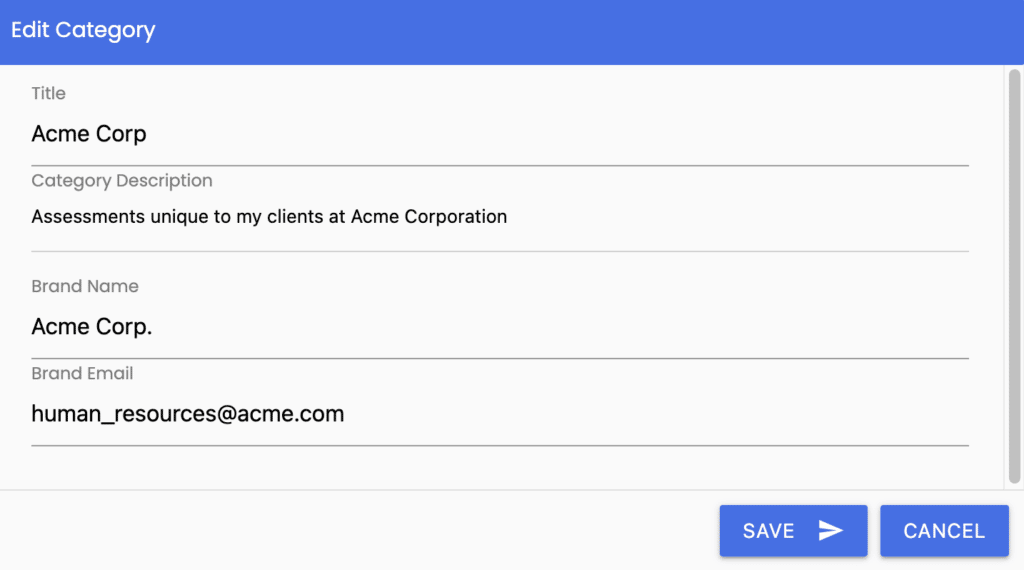
In addition to the Title, you can also enter these details for each category:
- Category Description: a text description to help you remember why the category was created
- Brand Name: specify the brand name for the “From” field in Results email messages for the assessments in each category.
- Brand Email: specify the brand email address for the “Reply-To” field in Results email messages for the assessments in each category.
Click the “Save” button to complete the creation of your category.
See Categories on the Assessment Dashboard for more details.
Organize Your Assessment by Pages or Sections #
Next, decide how you want to break up your assessment. This is especially important if you plan to create a more extensive assessment.
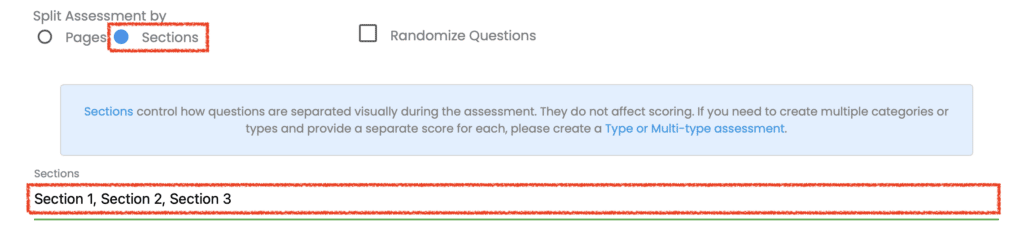
You can split up your assessment by a certain number of questions per page or by having one section per page and assigning each question to a section.

If you select the “Sections” option, enter your section titles on the line below, separating each with a comma.
If you split your assessment into sections, you’ll need to assign each question to a section when you create your questions. Questions not assigned to a section will appear at the end of the assessment.
Splitting your assessment by section only affects how it is organized visually, not how it is scored. If you’d like to create multiple types and provide your respondent with a separate score for each type, start by creating a Type or Multi-type assessment and then enter your types on the “Types” tab.
Randomizing Questions #
Select the “Randomize Questions” checkbox to present your questions in random order.

When you select “Split Assessment by Sections” and enable the “Randomize Questions,” your questions will be presented randomly within each section.
Enabling / Disabling Your Assessment #
The next option shows that your assessment is enabled, which is what you’ll want when you’re ready to share this assessment with others. In other words: Go Live!

When you no longer want to share your assessment, uncheck this box and click the “Save” button.
Add a Progress Bar #
You can also add a progress bar to your assessment. This feature comes in handy when you have multiple pages in your assessment. It helps guide respondents by knowing how far they have to go in completing your assessment.

To add a progress bar to your assessment, check this box and click the “Save” button.
Show a Landing Page #
You can opt to Show a Landing Page before your respondent begins the assessment. A Landing Page (sometimes called a Splash Screen) is an intro to your brand. It is a customizable, stand alone page in which you can offer your Call to Action.

To add a Landing Page, check the box and click the “Save” button.
A default “Begin Assessment” button is included. You can customize the text on this button from the Style tab.
Add Your Assessment Header #
Next up is your assessment header. This is a great place to put your logo, as it will be shown on all pages of your assessment.
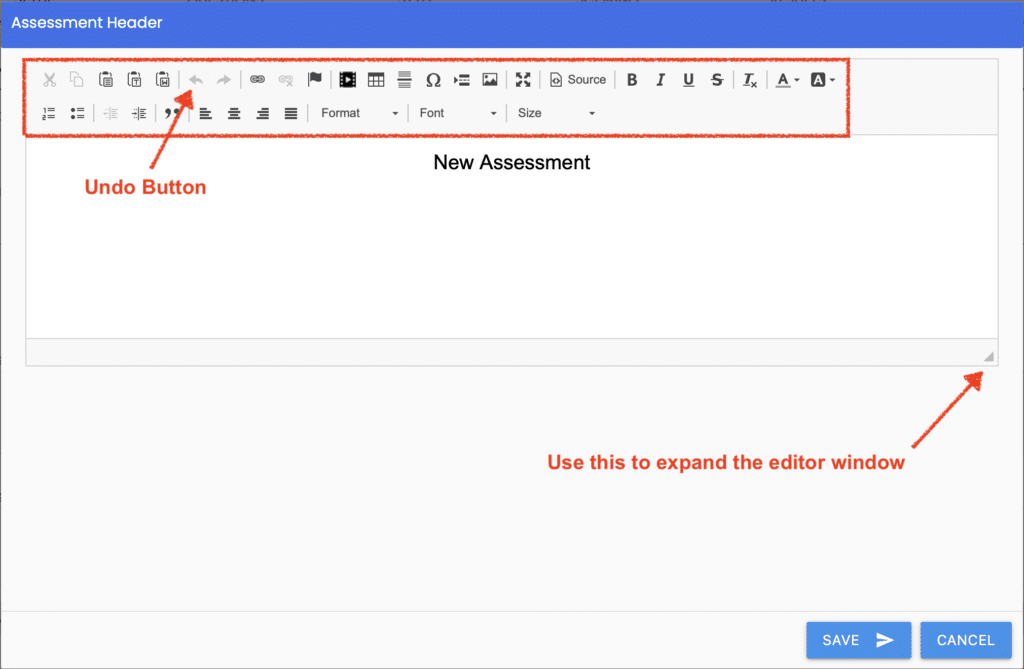
When you mouse over the “Assessment Header” box, you will see an “Edit” link in the lower left-hand corner. Click on this link to edit your assessment header.

You can also click anywhere inside the “Assessment Header” box to edit your assessment header.
You can edit the text of your header. You can also change the styling, paragraph format, font, size, color, and many more options. You can click the undo button to go back as many steps as you need.
Click the “Save” button to save your changes and return to the “Setup” tab in the assessment editor.
Add Your Logo to Your Assessment Header #
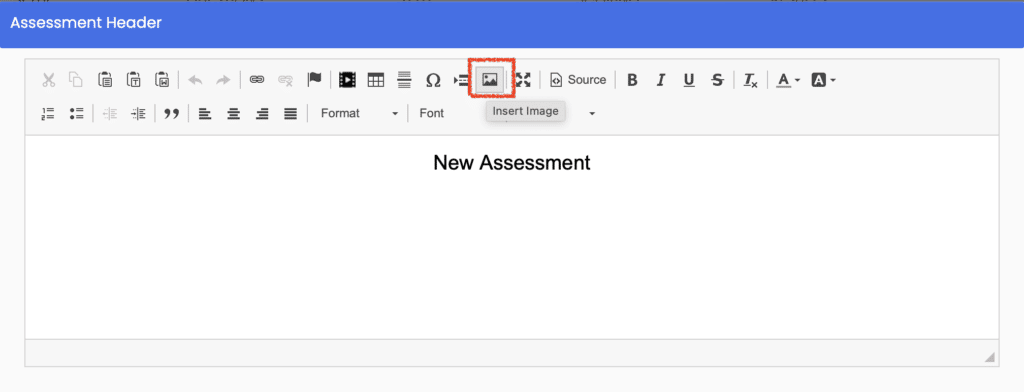
To add your logo image, look for the “Insert Image” button, which is located near the middle of the top row. You can also find it by reading the names as you mouse over each icon. Once you find it, click on it.
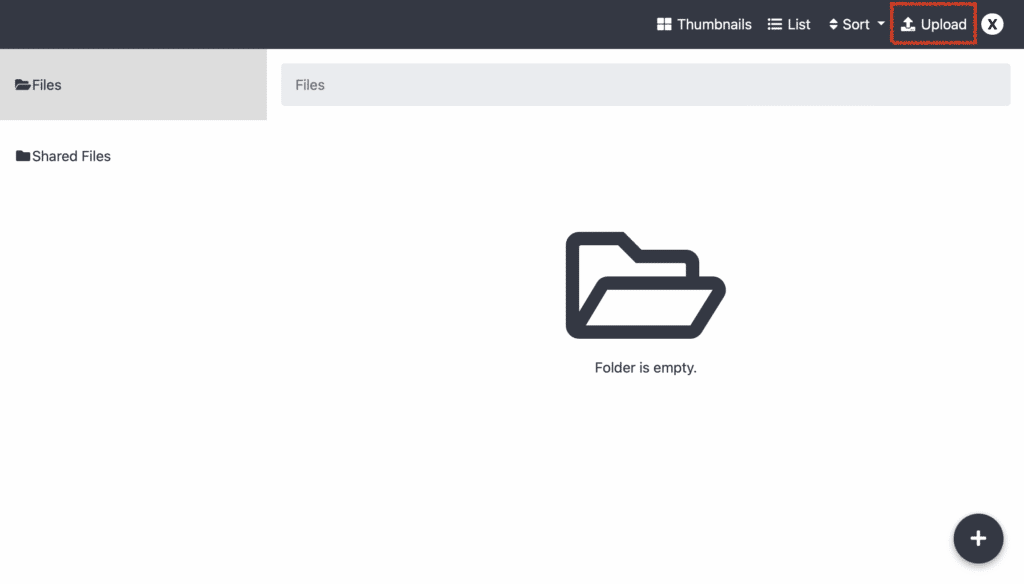
This will take you to the “Image File Manager.” Any images that you’ve already uploaded will be here. To upload a new image, click on the “Upload” link in the upper right-hand corner.
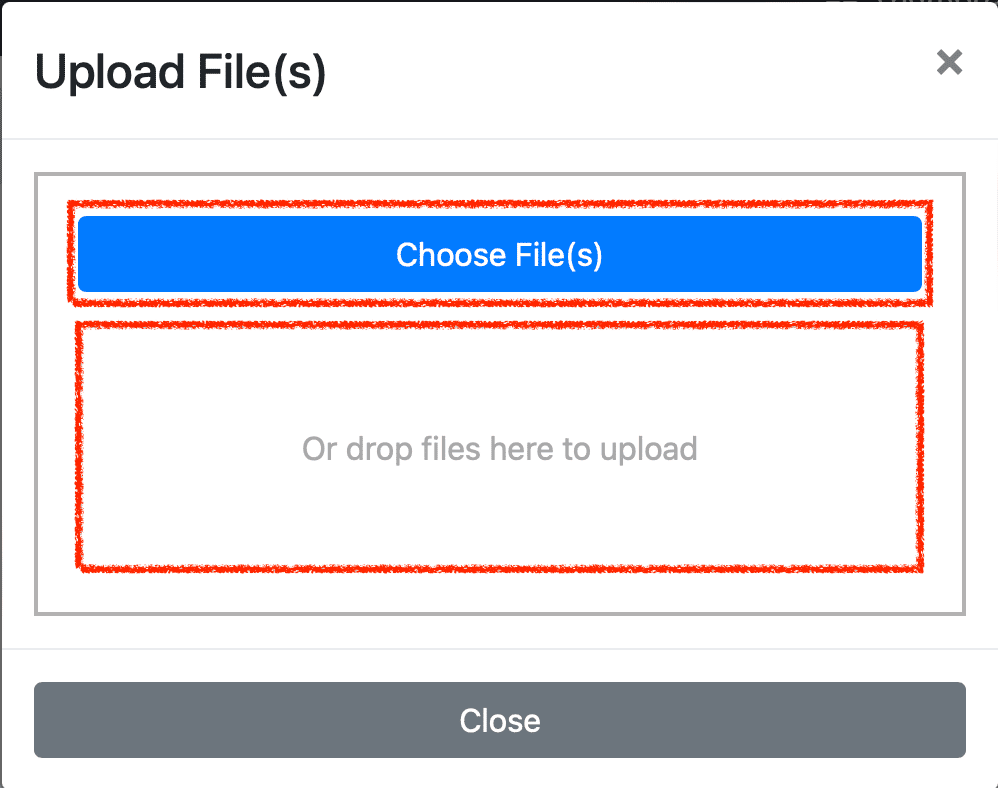
You can click the “Choose File(s)” button to browse your computer for the image file. Alternatively, you can drag and drop the image file into this box. When it’s finished uploading, click the close button.
Click on your image and the “Confirm” button to add it to your “Assessment Header.”
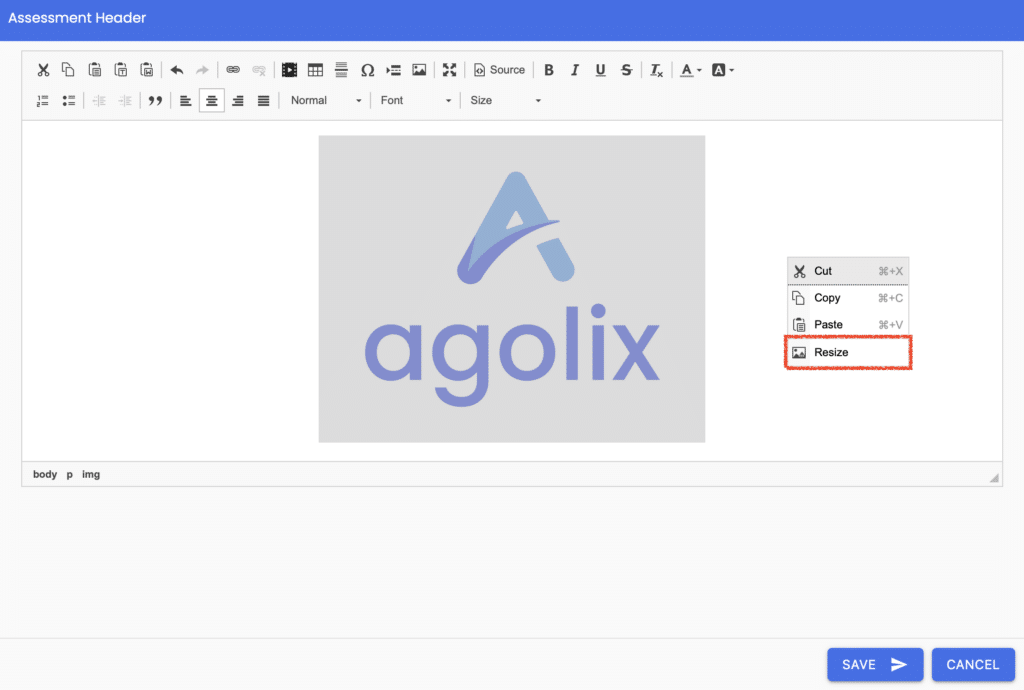
To adjust the size of your image, highlight the image and right-click on it. Then select the resize option from the menu.
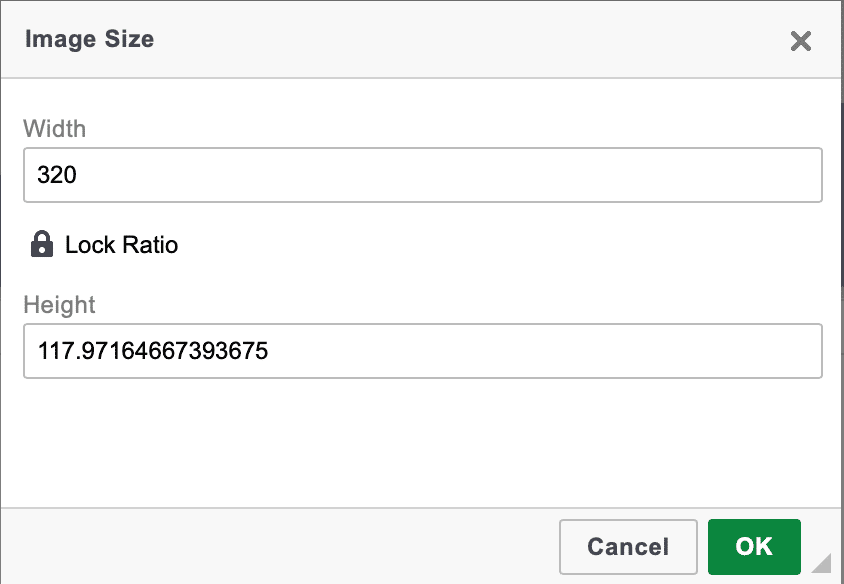
You can adjust the width of your image, so it looks good on your assessment. Your assessment will be 800 pixels wide, and most logos look good when sized to about 400 pixels wide.
We’re going to adjust ours to be 320 pixels wide. Since the “Lock Ratio” field is locked, our image height will be calculated automatically to preserve our image aspect ratio (height vs. width).
Click the “OK” button when you’re done.
Use the center button to align your logo to the center of the field.

Click the “Save” button to exit this edit window and save your changes.
Add Your Assessment Footer #
To set up your “Assessment Footer,” click on the edit link or anywhere in the box.

The “Footer” will show up on all pages of your assessment. This is a good place to put your copyright message. You can also leave it blank if you prefer.
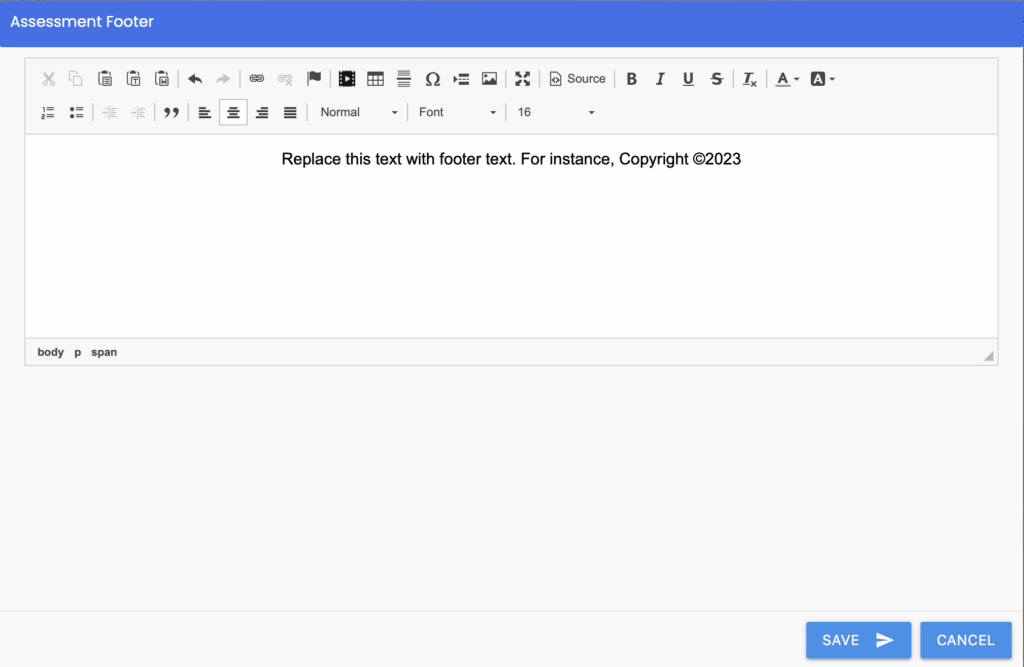
Once again, click the “Save” button to exit this edit window and save your changes.
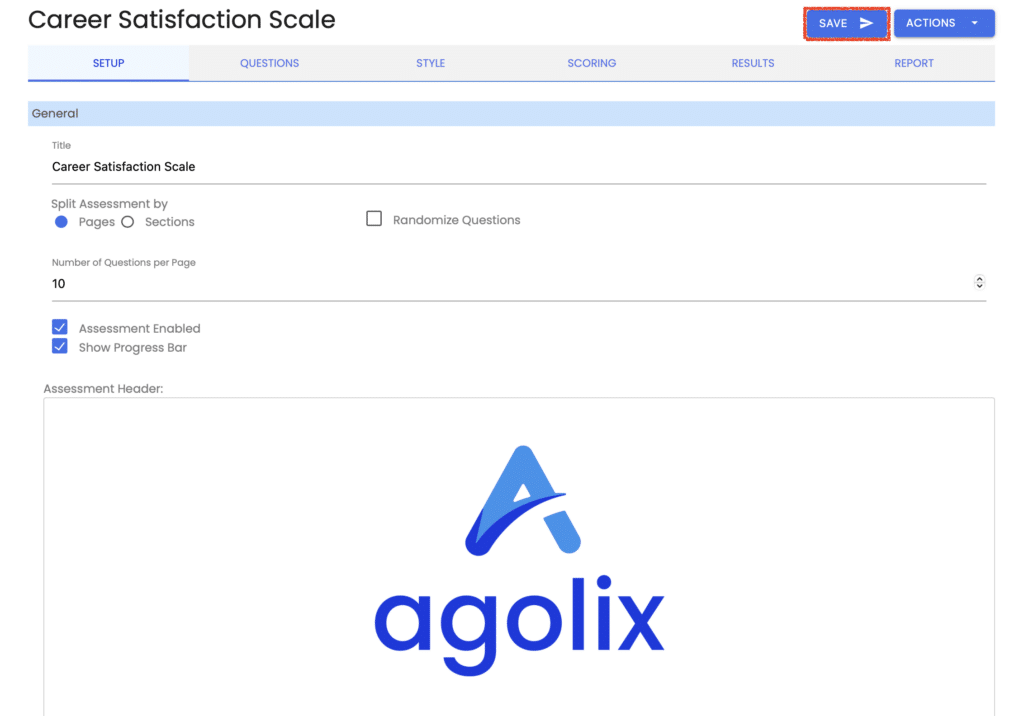
Save Your Assessment #
You can also save your changes at any point by clicking on the “Save” button in the upper right of your editor screen. A blue “Assessment Saved” message will confirm that your changes have been saved.
Preview Your Assessment #
Now let’s take a peek at how your assessment looks so far…
Under the “Actions” menu, select “Test Assessment” to preview how your assessment will look on a large screen (desktop or laptop).

We’ll enter your assessment instructions and questions next, but you can now see your Assessment Header, Title, and Footer.

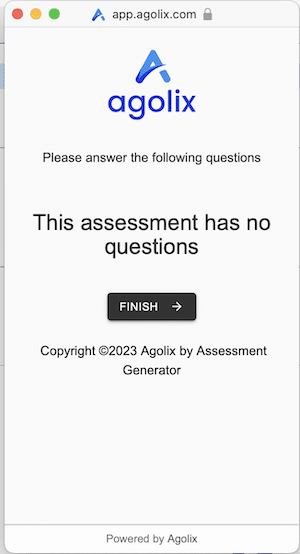
You can also preview how your assessment looks on mobile devices by selecting “Test Mobile” from the “Actions” menu.
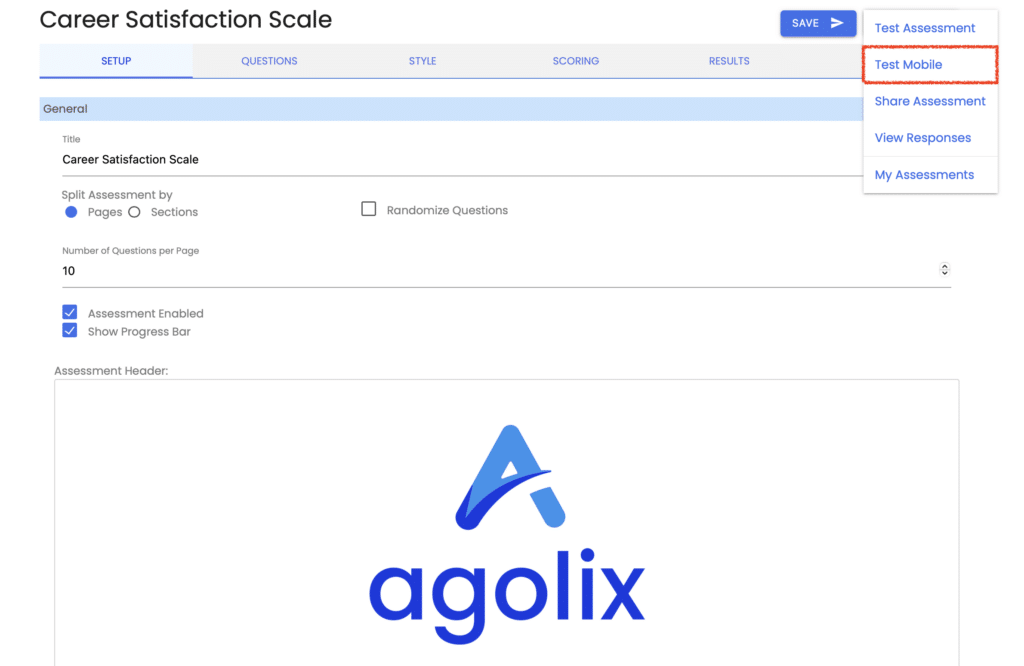
By selecting this option, you can preview how your assessment will look on mobile devices (phones or tablets).
Keep in mind that you’ll be able to add your brand colors when you edit the “Style” tab.
To make additional changes, return to your editor session, change your settings, and save them.
Exit the Assessment Editor #
Once you have saved your changes, you can exit your session.
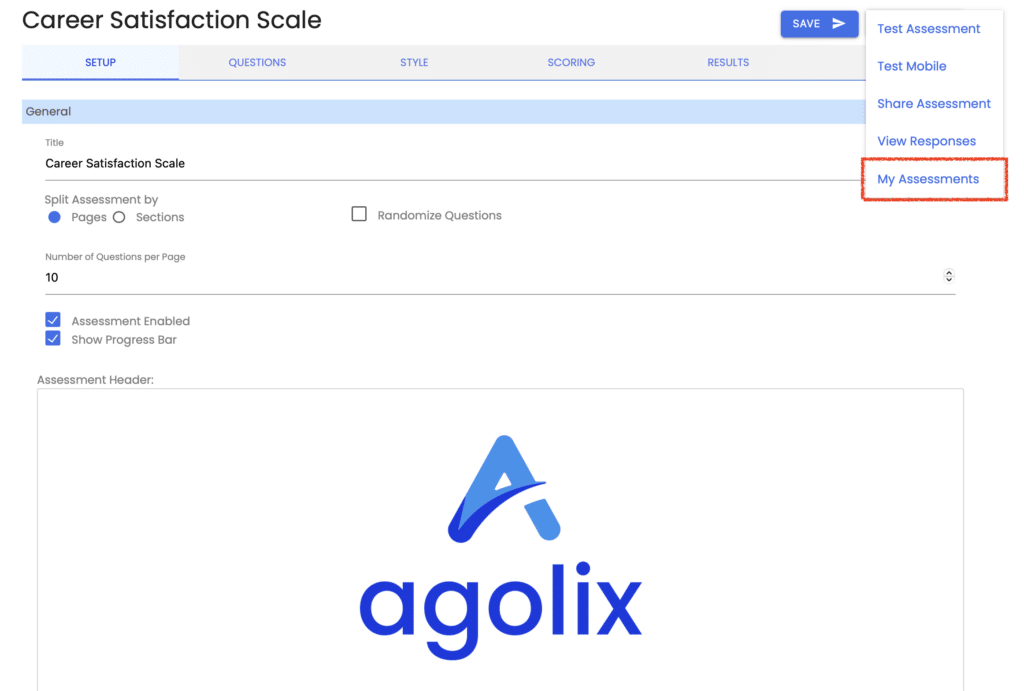
You can select “My Assessments” from the “Actions” menu. This will return you to your list of assessments.
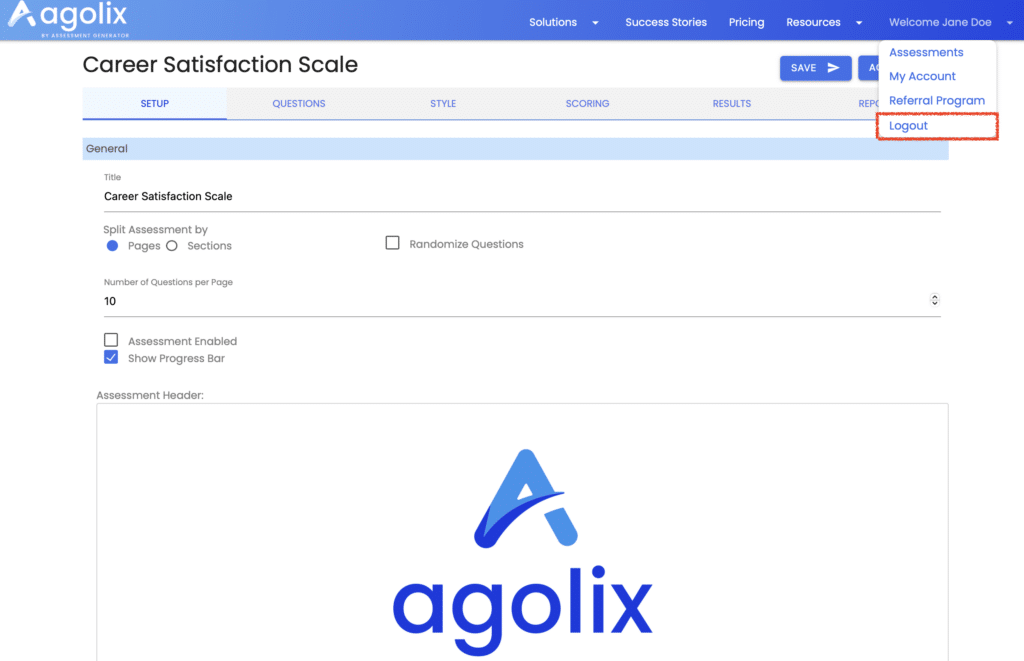
You can also select “Logout” from the Welcome Menu.
Next up … we’ll show you how to add your assessment instructions and footer.
Please review the rest of the User Guide to learn more about our software.
Thank you for choosing Agolix by Assessment Generator!


