
Navigate to the Report Tab #
Start by entering the Agolix editor.
First, select the “Edit” link in the menu underneath your assessment.

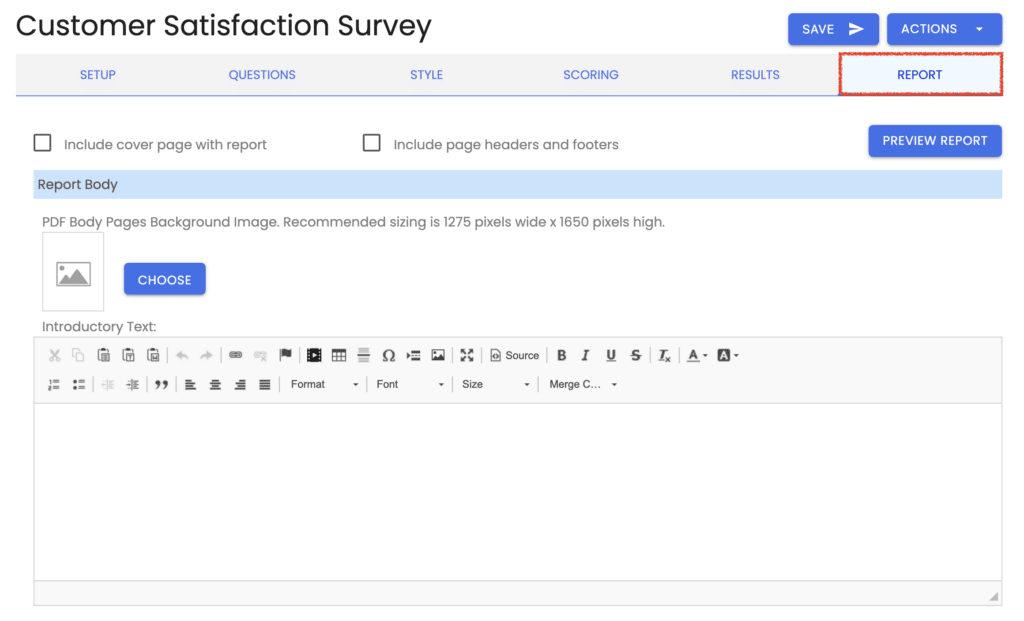
If you’ve already enabled PDF Report generation, click on the “Report” tab at the top of the page.
If the “Report” tab does not appear for your assessment, then please see Enable PDF Report Generation.
Alternatively, you can reach the “Report” tab by clicking the “Edit PDF Report” button on the “Results” tab.

Include Cover Page #
You can include a cover page in your PDF Report with Advanced, Private Label, and Enterprise plans.

Enable this setting to do so.
Design the Cover Page #
When you select “Include cover page with report,” a new section appears in the editor so you can specify the content you’d like to include on the cover page.
Upload Cover Page Image #
You can upload a background image for your cover page by clicking the “Choose” button.

NOTE: Page sizing for the PDF report is US Letter Size (8.5 inches x 11 inches). We recommend an image size of 1275 pixels wide x 1650 pixels high for best results.
Enter Cover Page Content #
Also, an editor window is available for the cover page. Content entered here will be overlayed on the background image (if one is provided).
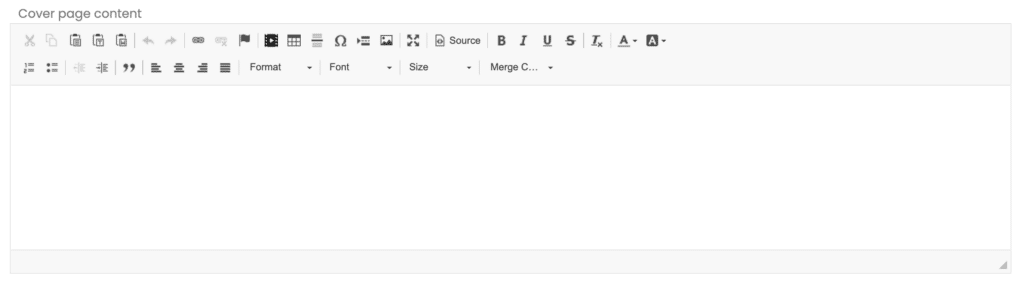
You can add your cover page content, including your logo and any text you’d like. You can also use merge codes to insert the respondent’s name and the date.
Include Page Headers and Footers #
With Advanced, Private Label, and Enterprise plans, you can include headers and footers in the body of your PDF Report.

Click the checkbox to enable this setting.
Design Report Body Headers & Footers #
When you select “Include page headers and footers,” a new section appears in the editor where you can specify the content you’d like to include in those fields.
NOTE: Headers and footers are shown on all but the cover page of the PDF Report.
You may add any content that you like, including your logo. Ensure that it doesn’t take up too much vertical space, so the header or footer doesn’t overlap with the page’s content.
For example, add Merge Codes here to include dynamic content such as the respondent’s name, assessment completion date, and page number.
Edit Page Header #
First, there’s an editor window where you can enter your Page Header content.
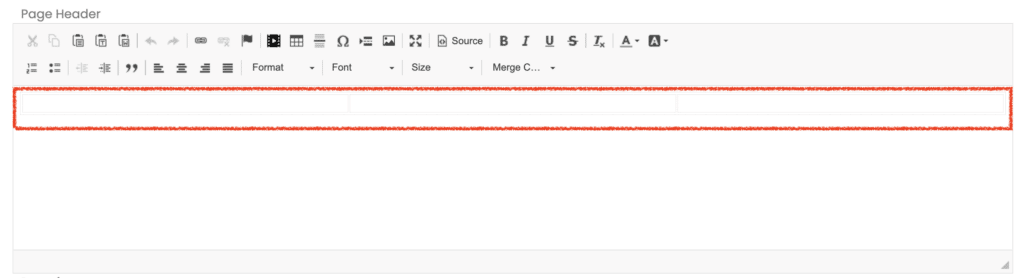
If you look closely, you’ll see faint outlines of a three-column table. This is to help place content on the header’s left, right, and center. The table outline will not appear in your final report, but a horizontal line will be automatically added below the header.
Edit Page Footer #
Next, there’s an editor window for your Page Footer content.
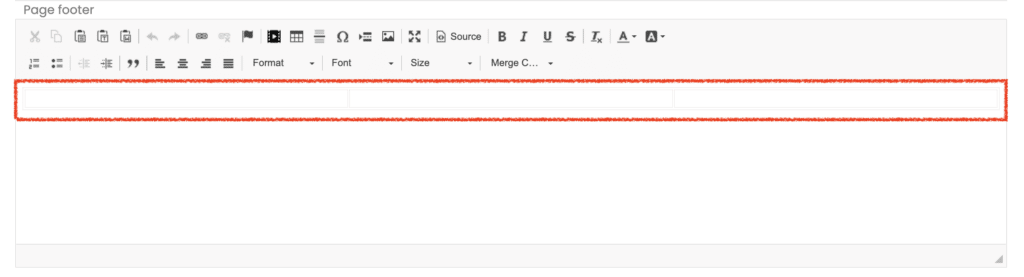
Like the Page Header, you’ll see another three-column table to help you place content on the left, right, and center footer. As mentioned before, the table outline will not appear in your final report, but a horizontal line will be automatically added above the footer.
You may add any content to this table that you like, including your logo. Ensure that it doesn’t take up too much vertical space, so the header or footer doesn’t overlap with the page’s content.
Please review the rest of the User Guide to learn more about our software.
Thank you for choosing Agolix by Assessment Generator!


