
- What is a Numeric Question?
- Create a Numeric Question
- Enter Your Question
- Field Prompt
- Assign Question to Section
- Assign a Question Identifier
- Question Required Setting
- Question Enabled Setting
- Show on Registration Page
- Show Question When (for Conditional Logic)
- Optional Question Notes Field
- Save Your Question
What is a Numeric Question? #
A Numeric Question is answered with a number.
- Numeric questions are not scored and cannot be assigned to types.
- Numeric questions can collect demographic information from respondents.
- Answers to numeric questions can also be used in math calculations using merge codes.
Create a Numeric Question #
Start by entering the Agolix editor.
First, select the “Edit” link in the menu underneath your assessment.

Then click on the “Questions” tab at the top of the page.
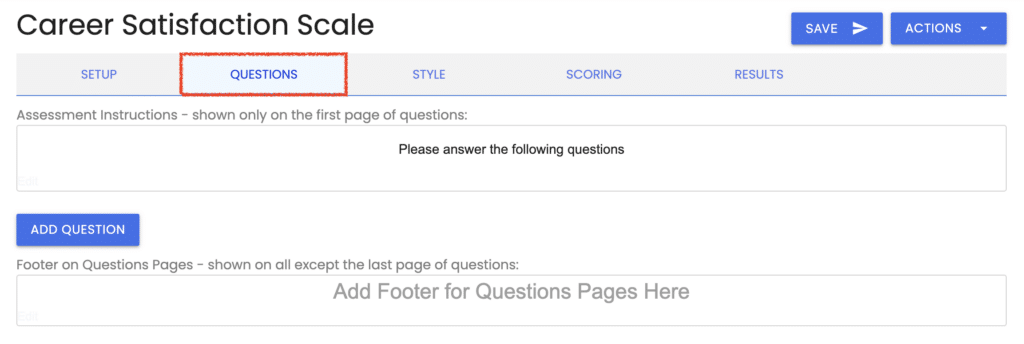
Click the “Add Question” button.
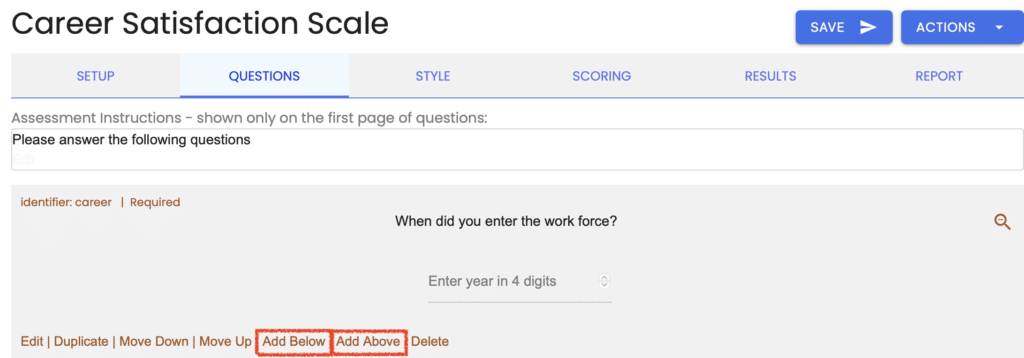

Alternatively, you can mouse over any existing questions and choose either the “Add Above” or “Add Below” links. These links will add your new question either above or below your existing question.
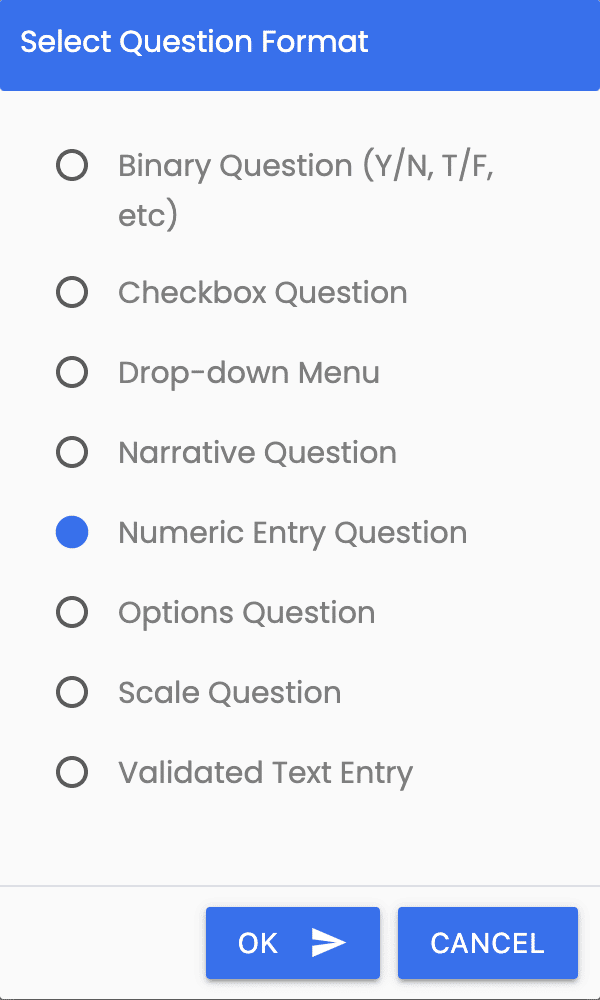
Then choose “Numeric Entry Question” from the menu and click “OK.”
Enter Your Question #
Enter your question in the editor window and adjust the styling as desired.
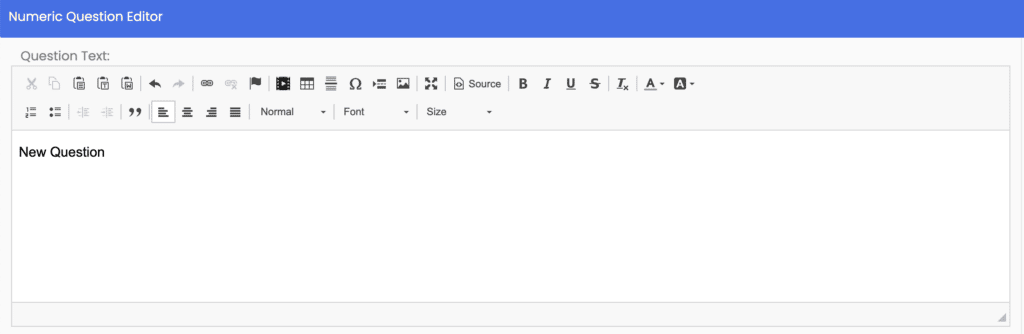
You can also include an image, video, symbols, and tables with your text.
Field Prompt #
Next, enter a prompt for this numeric entry field.

Your field prompt can be 1 or more words to cue your respondent regarding what the question is asking.
For example: if your question is “What is your current age (in years)?” your field prompt might be the word age.
Whatever you enter as your field prompt will appear in your assessment on the line where your respondents enter their answer to your question.
Assign Question to Section #
In the “Setup” tab, you can configure your assessment to display your questions by section. If you’ve done so, you’ll see a setting here to assign your question to one of your sections.

Please note that sections control how questions are separated visually during the assessment. Sections do NOT affect scoring.
- For Type or Multi-Type Assessment: To set up types or categories for scoring, create types on the “Types” tab. Learn more about types.
- For Simple Assessment: If you need to create multiple categories or types and provide a separate score for each, please create a Type or Multi-type assessment.
- We can help you convert your Simple assessment into a Type or Multi-type one. Please contact us for assistance.
Assign a Question Identifier #
This optional field enables you to reference the answer to a question.

This field can display a respondent’s answer in the assessment results by invoking it as a merge code.
You can also use the question identifier to pass the answer through a webhook or Zapier integration to an outside application.
Question Required Setting #
Scroll down to see where you can require the respondent to answer the question.

If this box is unchecked, this question is optional, and the respondent can proceed to the next question without answering it.
Question Enabled Setting #
Next is the “Question Enabled” setting. Each question that you create will be enabled by default. You can disable individual questions in your assessment by unchecking this box.

Disabled questions will not be presented in your assessment.
Show on Registration Page #
Check this box when you want this question to be shown on the assessment’s registration page.

Show Question When (for Conditional Logic) #
With Advanced, Private Label, and Enterprise plans, the “Show Question When” field is shown:

By default, this option is off so your question will always be shown when the Question Enabled setting above is enabled.
Please see Add Conditional Logic for details on how to use this feature.
Optional Question Notes Field #
Finally, there’s an additional text window where you can add notes that will appear below the question in your assessment.
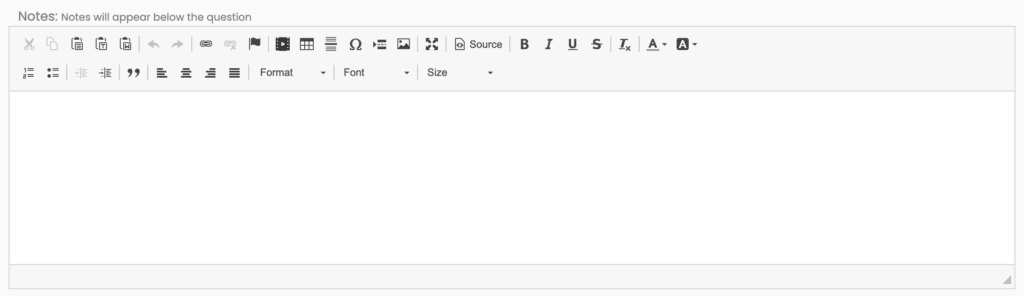
You can also present your “Question Notes” with assessment results when you enable the “Show questions and responses” setting for the “Edit On-Screen Results,” “Edit Emailed Results,” and “Edit PDF Report” settings on the “Results” tab.
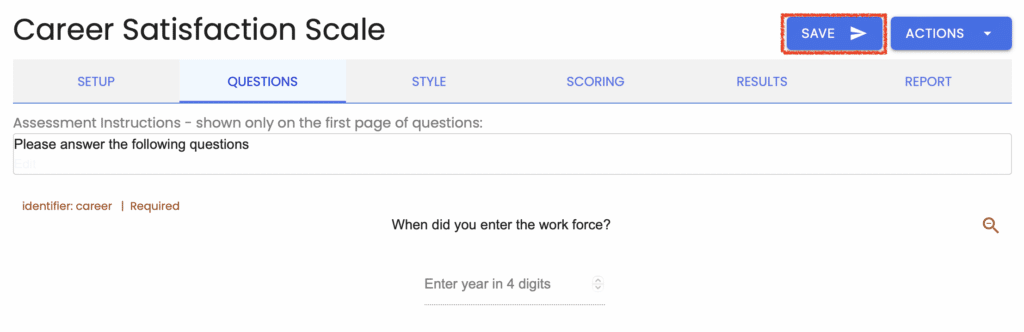
Save Your Question #
When you click the “Save” button to store your question settings, you are returned to the “Questions” tab, where you can see your recently-added question.
Please review the rest of the User Guide to learn more about our software.
Thank you for choosing Agolix by Assessment Generator!


